You have found www.hamrx8.com
Copyright.... Website created & maintained by GHQP

Page Updated
May 25, 2011
May 25, 2011
Acrylic Illuminated 3D Images & Name Plates
COMPLETED
These illuminated desktop pieces were inspired by the previous ones I have made over the past few years. However there are a few differences, they are bigger, and some now incorporate RGB LED lighting with a control electronics that enable various coloured lighting effects. The Car ones are not strictly Lithophane's as they were engraved on clear Acrylic and are edge lit. Where as a true Lithophane would be engraved on translucent opal Acrylic and back lit. I am currently working on some true Lithophanes, making an consistant even back light system is the first design stage.
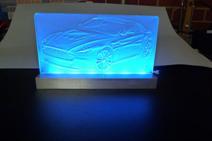
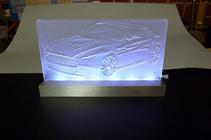
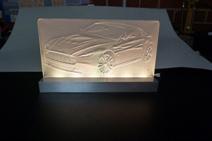
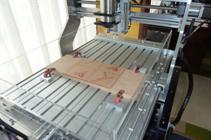
This first one is an Aston Martin machined as a 3D Lithograph. 3mm clear acrylic is used with the machining done as a mirror image on the reverse side. I found that the lighting effect has more contrast when viewed from the front side. A 1mm ball nose end mill was used, the maximum machining depth is 1mm at a 15deg angle. The design and G-Code was produced using Vectric Aspire. The machining time took about 3 hours, it took this long as I set the cutter to step in only 15% per pass so as to get good detail without obvious machining lines. This is not a finished project as I have not anodised or assembled the base properly yet. It is roughly put together at the moment to get a rough idea of the lighting effect. Needs a diffuser in the base to reduce the LED lighting hot spots. Its the first one of the 3D Lithograph type so a bit of fine tuning is still needed.
Now planning my next creation, something a bit different.
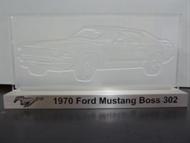
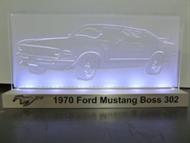
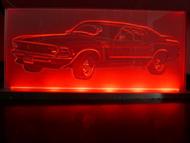
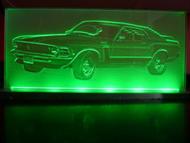
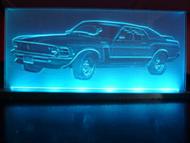
1970 Ford Mustang BOSS 302
I made for a friend to give to a family member as a birthday present.
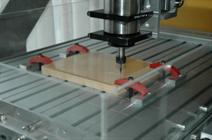
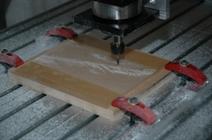
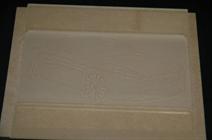
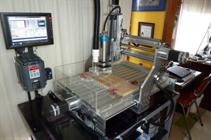
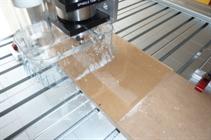
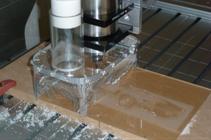
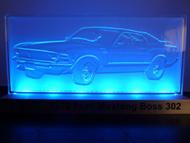
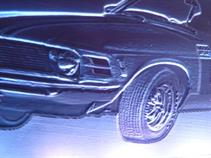
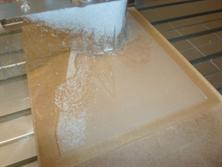
The 3D Lithophane image was cut using a 1mm Ball Nose Mill in two passes, a rough cut first 1mm deep (40% Step Over) then the finishing pass to a total depth of 1.5mm (15% Step Over). The last image is a close up giving some idea of the 3D effect this process creates. This was the first time I had used the Dust Extractor on the Router, it worked really well and instead of taking about 10-15 minutes to clean up at the end it only took about 30 seconds. I took some video making this one that I will post soon. The base is yet to be anodised and the LED strip fitted properly.

NEW
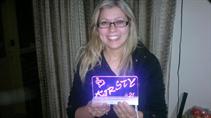
Kristy' 18 Birthday Present June 2011
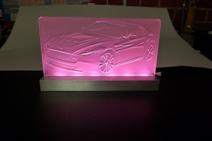
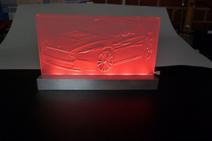
The making of this is very similar to the one I did for Kirsty's 21st below. However this was the first of its kind incorporating multi coloured effects via RGB LED's. The inspiration for multi coloured effects came from my Personal Trainer Jenna who has a previous design I made using just single coloured LED's. When asking me if I could do a similar thing as a present for her sisters 18th birthday, also asked if I could do it with changing colours. I hadn't taught of that up until then but couldn't see why not. A bit of searching on eBay and I found the perfect solution. Thanks Jenna for the idea.
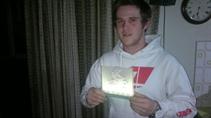
Kirsty & Mark's 21st Birthday Presents
Presented May 24th 2011
Presented May 24th 2011
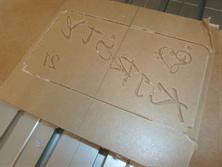
For the engraving process KIRSTY, Symbol and 21.
I used a Conical Ballnose Engraving tool 0.1875" Dia, 60 Deg, 0.010" Radius. These engraving cutters along with a variety of others I obtain from www.2Linc.com. The engraving is mirrored as viewing is from the reverse side, this is the case for all my illuminated acrylic designs. The image comes up much clearer when done this way.
For Mark's design this is a Lithophane produced from a photograph of him doing a motorbike jump. The 3D cut depth was set to a maximum of 1.5mm.
